
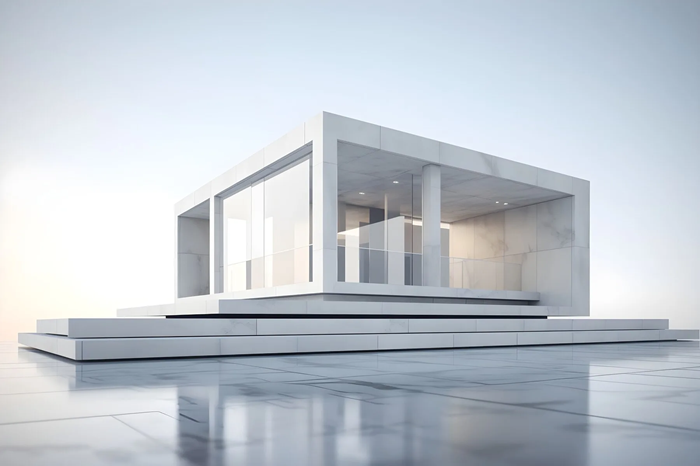
3D interior visualization helps you visualize the future design before renovations begin: assess proportions, lighting, materials, and color combinations, and avoid costly mistakes in advance. This tool is equally useful for designers, clients, and contractors, as it transforms abstract ideas into a clear picture.
A well-prepared rendering makes the project clear and understandable: it’s easy to compare layout options, understand how textures will behave under different lighting, and coordinate details—from the height of baseboards to the shade of textiles. Below are practical ideas and tips to help you achieve a realistic result and maximize its benefits.
Tips for Enhanced Realism and Speeding Up Approval
A rendering will be convincing if the initial data is accurate. Check the room dimensions, ceiling heights, thickness of finish layers, and the location of openings and radiators. If necessary, create a simple “gray” draft without materials to quickly agree on a layout before detailed development.
Materials: Less “perfection,” More Truth
A common mistake is overly smooth surfaces and uniform textures across large surfaces. Add realistic parameters: slight irregularities, microrelief, variations in boards/tiles, and correct texture scale. If you’re using 3D interior rendering, make sure all materials have reflections and roughness adjusted—they’re what make the image look “expensive” and natural.
- Texture scale: check the size of the pattern (e.g., a board 120–180 mm wide, a tile 60×120 cm, etc.).
- Joints and bevels: add grout and micro-bevels where they exist in reality.
- Metal and glass: avoid a “mirror” without nuances—you need a realistic level of blur and reflections.
Light and color: control temperature and exposure.
To avoid a “yellowish” or “sterile blue” cast, set a clear color temperature for the light sources and adhere to a consistent pattern: warm light for living areas, Neutral colors are for work surfaces, and accent colors are for ambiance. Check the white balance to ensure materials don’t shift in hue from frame to frame.
Prepare a package for approvals and renovations
Renderings work best when paired with clear explanations. In addition to beautiful shots, include practical materials: a list of finishes, tile layouts, lighting diagrams, and electrical outlet locations. Then the visualization will become not only a “dream picture” but also a working tool for procurement and construction.
Bottom line: create 3D visualizations not for the sake of a “pretty picture,” but for the sake of clarity of decisions. An accurate baseline, authentic materials, logical lighting, and thoughtful presentation of perspectives transform the project into a clear action plan and significantly simplify implementation.
Defining Visualization Tasks: Style, Budget, Timeframe
Clearly defined 3D interior visualization tasks allow for a result that meets expectations and facilitates project-wide decisions, from layout to material and lighting selection. The more precisely the input data and “done” criteria are defined, the fewer revisions, conflicts over taste, and surprises there will be during the implementation phase.
Before starting, agree on the purpose of the visualization (presentation to the client, real estate sales, contractor approval, marketing), the required level of realism, and the expected format of the final files. This directly determines the style, cost, and schedule of work.
What to determine before starting
1) Style and level of detail
Determine the visual language and precision of the design: a minimalist concept (composition and colors are important) or photorealism (materials, textures, precise models, and accurate lighting are important). Agree on references, palette, mood, as well as a list of required objects (furniture, decor, appliances) and acceptable simplifications.
- References: 5-10 images with explanations of what you like (lighting, materials, proportions, atmosphere).
- Shot composition: what rooms and angles are needed, are there any close-ups?
- Requirements for realism: level of detail of models, quality of textures, degree of “cleanliness”/”livelyness” of the scene (a neat catalog or a lived-in interior).
2) Budget and scope of work
It’s better to tie the budget not to an abstract “picture,” but to measurable parameters: number of rooms, number of angles, complexity of materials, need for unique furniture modeling, need for animation or panoramas. It’s important to define the edit limit and approval format in advance to prevent costs from rising due to endless iterations.
- Package contents: number of images, resolution, whether plans/collages/additional versions are needed.
- Models: what is taken from libraries and what is modeled from scratch (and from which drawings).
- Edits: how many circles are included, what is considered a “minor” edit and what is a concept change.
- Output files: renders only or also a scene, masks, layers, print/social media versions.
3) Deadlines and Checkpoints
Deadlines depend on the scope and how quickly you provide initial data and make decisions. Break the process into stages with clear deliverables: blocking, approval of materials, rough renders, final. Set deadlines for feedback and establish a rule: if the response is delayed, the overall deadline is shifted.
- Stage 1: Rough geometry and angles – confirm the layout and composition.
- Stage 2: Materials and lighting – approve the palette, textures, and lighting scenarios.
- Stage 3: Rough renders – make detailed adjustments without changing the concept.
- Stage 4: Final renders – quality check and export in the required formats.
Summary: Define the visualization goal, define the style and level of realism, calculate the scope of work using clear parameters (shots, rooms, models, edits), then break the project down into stages with milestones and deadlines. This will ensure a predictable result, a transparent budget, and smooth work without unnecessary rework.